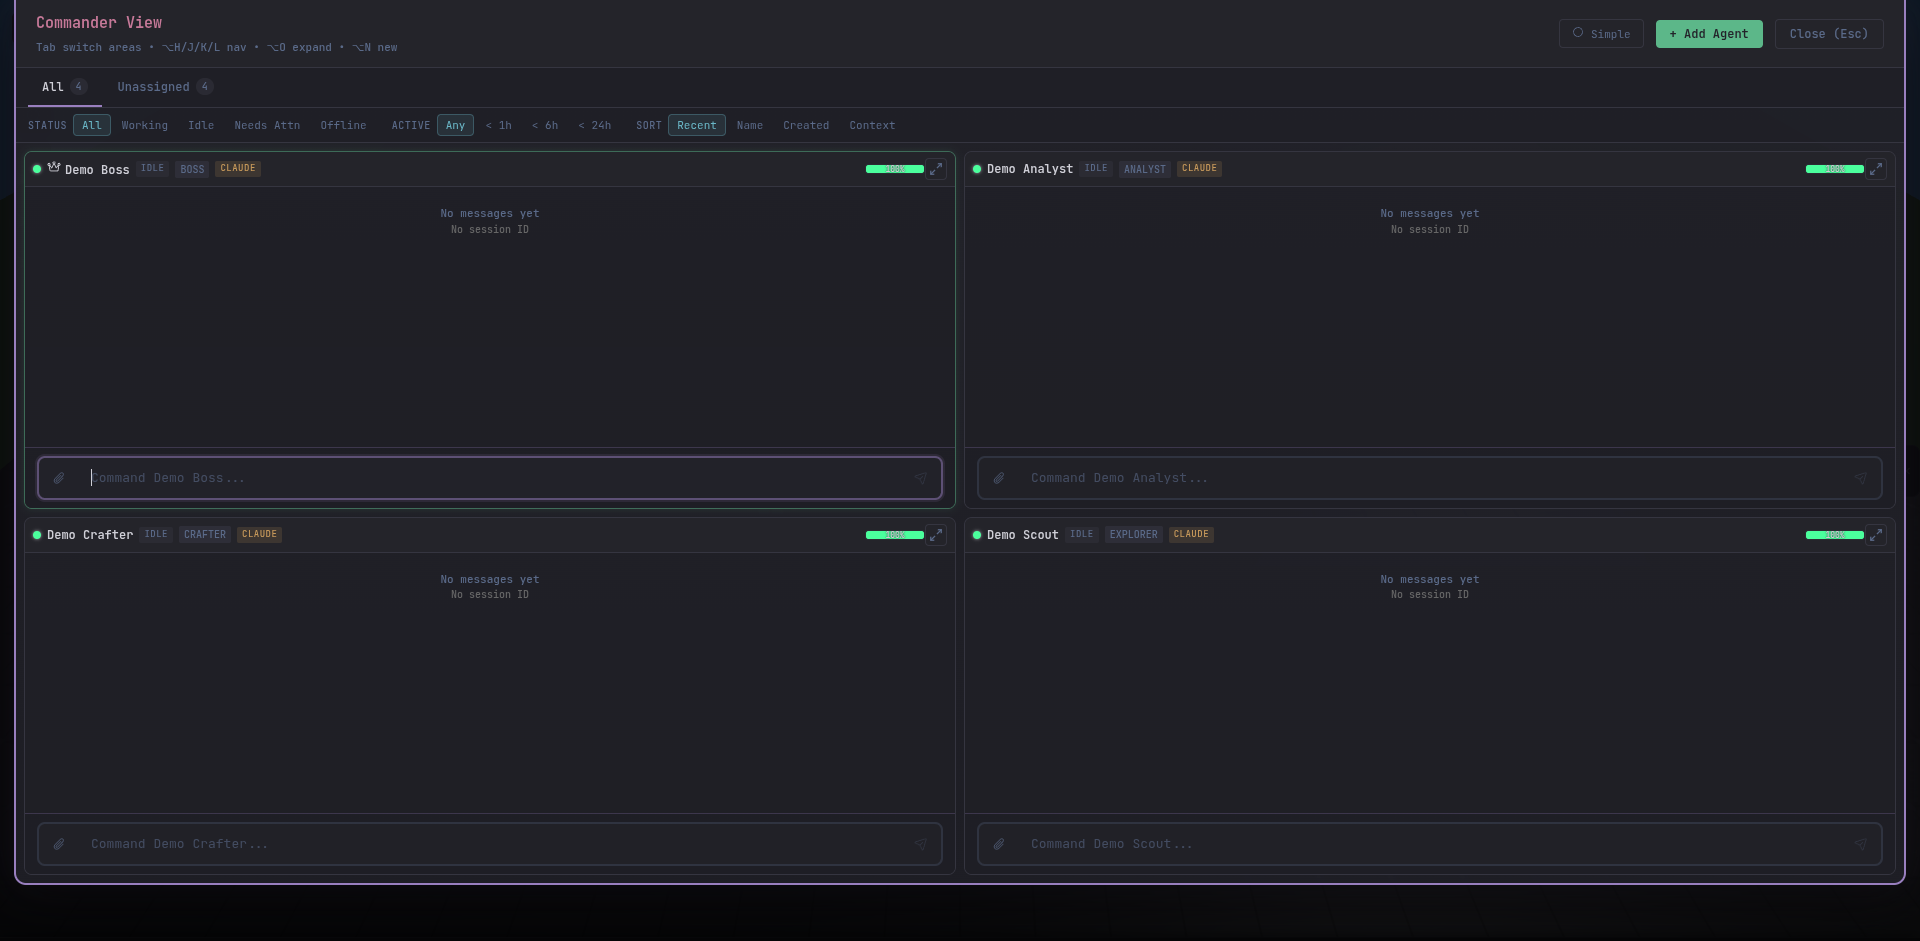
Every terminal, one screen
One tile per agent. Live stdout streaming with the same tool-call formatting as the inspector. Tiles scale to fit the viewport — fewer agents, bigger tiles.
Commander View is the power-user’s battlefield. Drop the map, drop the cards, and see every agent’s live terminal laid out in a grid. When you’re driving a team through a messy migration or a multi-front investigation, this is where the keyboard never leaves home row.
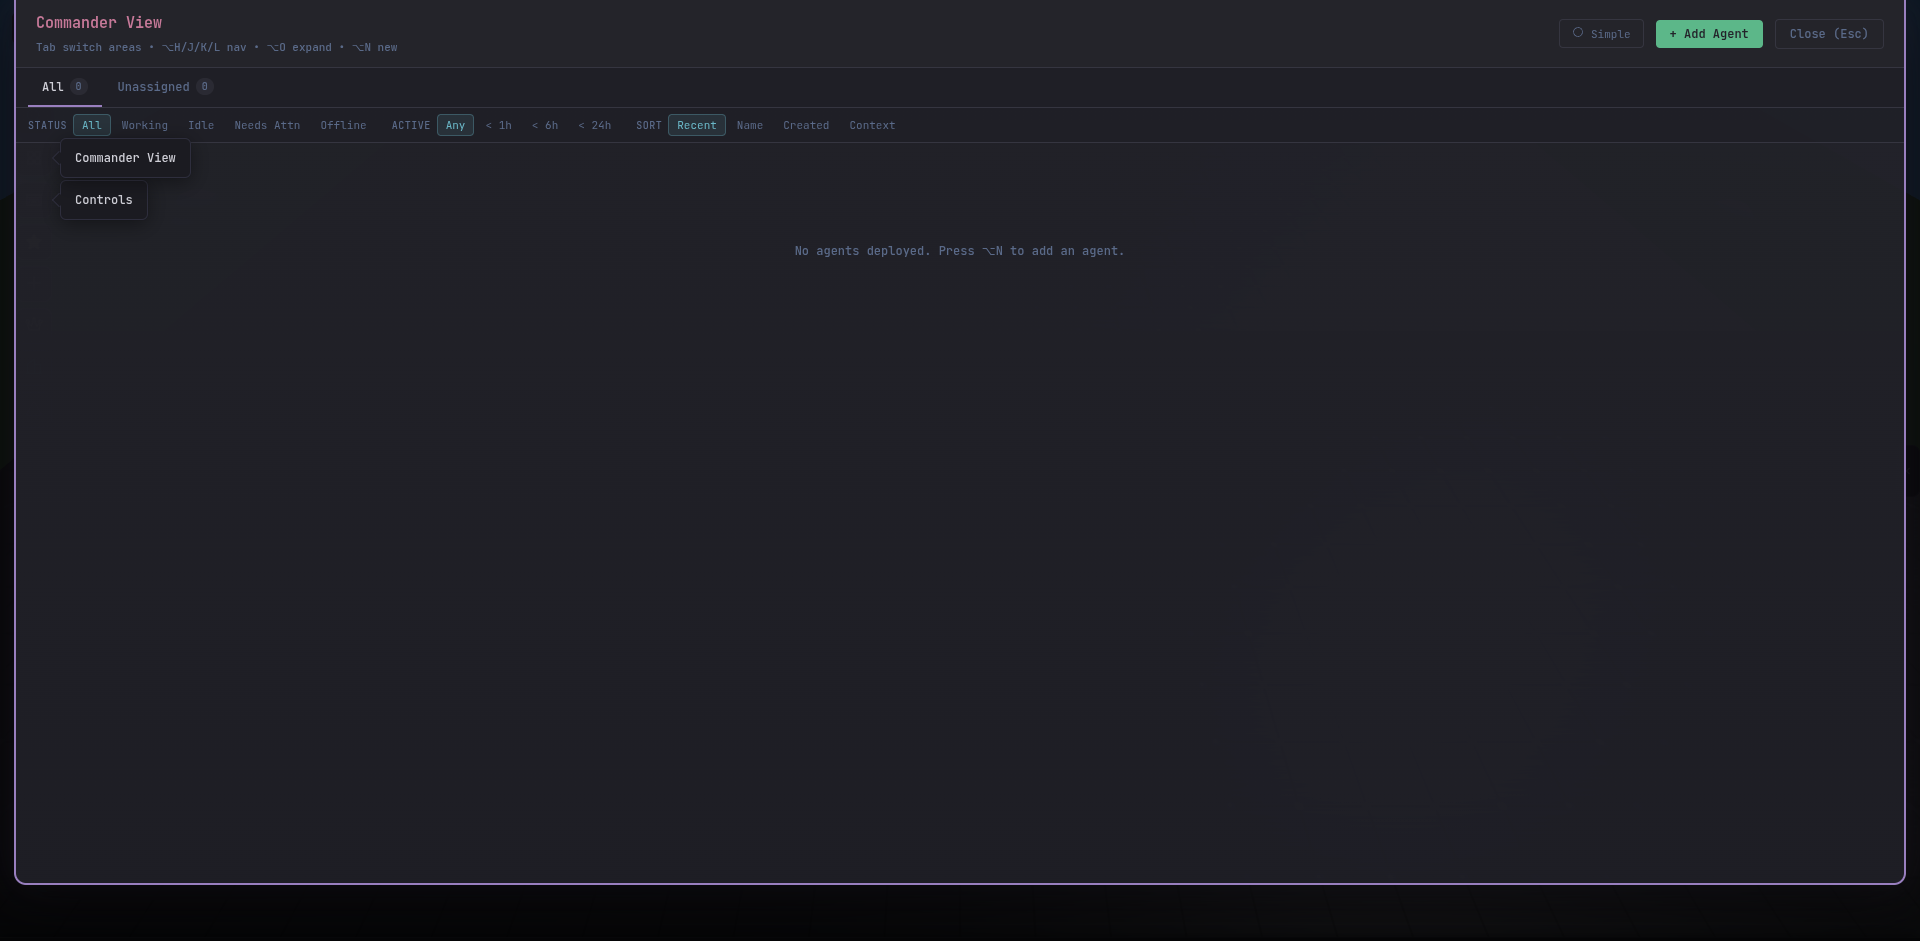
Click Commander View from the floating action bar (the rocket icon on the right edge), or press Alt + 2 to cycle. The dedicated button is always visible so you can snap back from anywhere.
On a fresh install the grid is empty until you spawn an agent.
Every terminal, one screen
One tile per agent. Live stdout streaming with the same tool-call formatting as the inspector. Tiles scale to fit the viewport — fewer agents, bigger tiles.
Type into any of them
Click into a tile’s input row and type. Enter dispatches to that agent’s CLI process exactly as if you were in its inspector.
Bulk commands
Multi-select tiles with Shift-click, type once, send to all. Every selected agent receives the same prompt in parallel.
Grouped by area
Tiles cluster by the area each agent belongs to, so teams working on the same codebase stay visually adjacent.
need-review, triage one tile at a time and merge or discard what they produced.